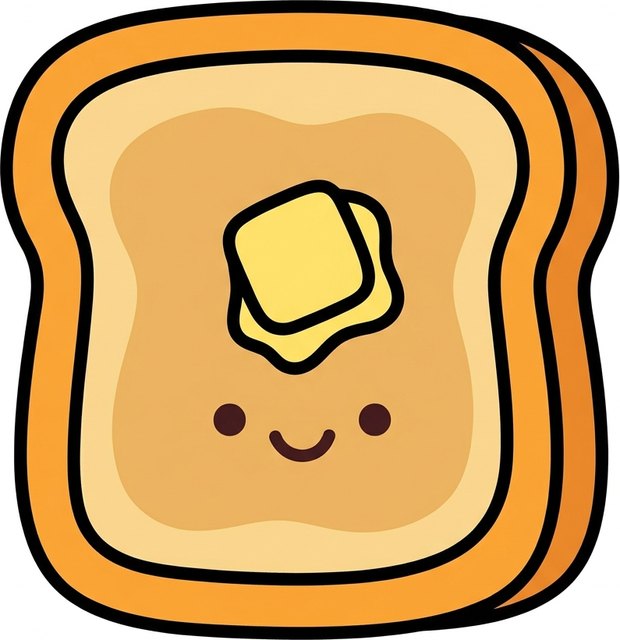
How to make a paper squishy
Paper, clear tape and something soft inside. A first squishy takes about twenty minutes.
You need
- A printed template (or your own drawing, front and back)
- Scissors
- Clear packing tape. Wide tape is quickest; narrow tape works with more strips.
- Stuffing: cotton balls, fiberfill, a crumpled plastic bag, tissue paper or a piece of sponge
- Markers or colored pencils, for a template with no color
The steps
- Print. Print the page at 100% on plain paper. Pick the colored one, or the one with no color and color it yourself with markers.
- Cut. Cut out the front and the back, close to the thick black line.
- Tape. Cover the front with strips of clear packing tape, sticky side down, and let the tape stick out all round. Lay the back on it, blank sides together, and fold the tape over the edge. Leave a gap about three fingers wide.
- Stuff. Push in a little cotton, fiberfill or a crumpled plastic bag. Not too much, or the paper tears.
- Seal. Tape the gap shut and cover the back with tape too. Squish it.
When something goes wrong
The paper tears when I stuff it.
There is too much stuffing, or a spot without tape. A squishy needs less filling than you think: it should give when you press it.
The edges come apart.
The tape tabs are too short. Let the tape stick out about a finger's width past the paper, and on curves cut small slits into the tape so it folds flat.
The marker smears under the tape.
The ink was still wet. Wait a few minutes, or use colored pencils.
It will not squish back.
Crumpled paper stays flat once pressed. Use cotton, fiberfill, a plastic bag or a cut-up sponge.
The front and back do not match.
Put the blank sides together. The back is a mirror image, so it only fits one way round.